
The best way to prevent the inevitable panic attack of your gear failing while on the road is to be prepared. When you use your gear every day in volatile environments with varying weather conditions and sobriety levels, it’s likely your shit will break at some point. One time my guitar amp fell out of the back of my van and smashed the tubes. The next time that amp fell out of my van the reverb tank magically worked again. You just never know!
We interviewed my favorite Brooklyn guitar tech, Jenna Nelson (who also plays in the garage band Sic Tic), and Rosie Slater (frequent touring drummer for New Myths, Delicate Steve, and Catty), about what you can do when your gear situation gets wacky.

AF: What are the most common things to break on guitars/basses?
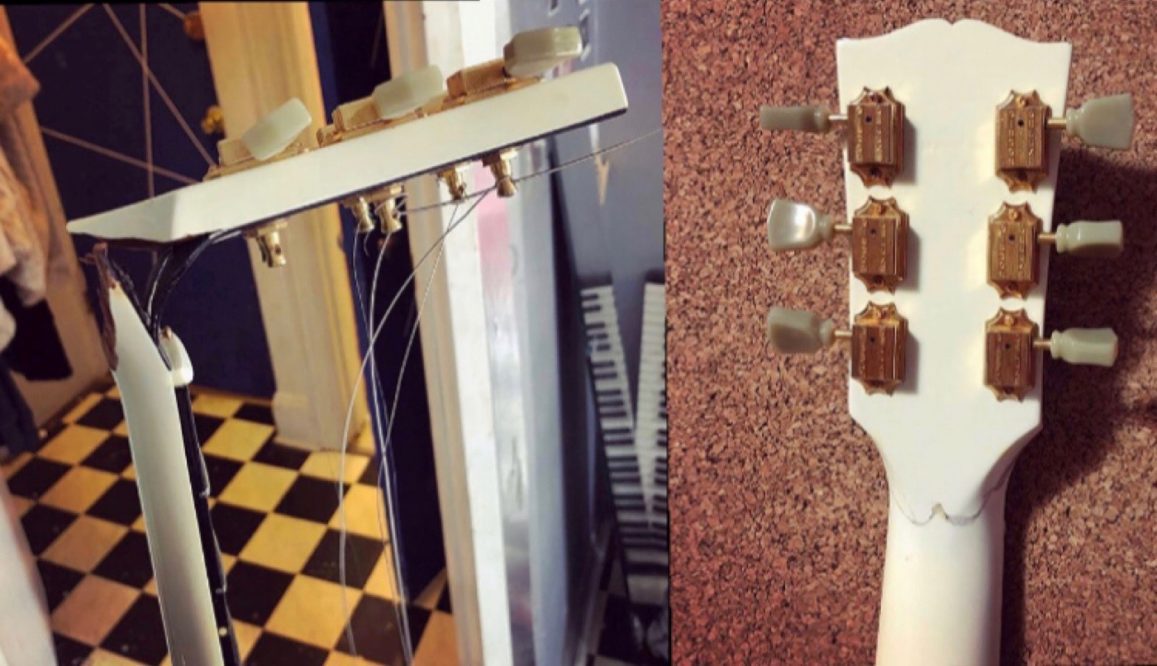
JN: Jacks come loose. Tuners get bonked. Knobs come off. Strap buttons get wiggly. Electronics get dirty and cause crackly or intermittent signals. Nuts get cracked… On a more serious level you have your headstock breaks which are relatively common on Gibson style instruments where the headstocks are pitched backwards at an angle.
AF: What are some easy fixes people should learn before going on tour?
JN: Carry a little multi-tool or assortment of screwdrivers, pliers and wire cutters in your case to tighten any loose hardware while you’re out. I’d also carry a bit of electrical tape wrapped around a Sharpie for emergency (temporary!) wiring fixes. For the more advanced, a wrench to adjust your truss rod (please make sure you use the correct size and shape!) can come in very handy for tours where you’re passing through wildly differing weather.
AF: What is a guitar set up and how often should you get your guitars set up?
JN: I recommend setting up your guitar or bass twice a year [in] spring and fall – right after a big humidity change is a good rule. Some instruments can hold onto a setup for longer, but most necks like to move around with the weather. If you’ve got a recording date or tour coming up, that’s also a good time for a setup to take care of any fret buzz, intonation issues, or general wonkiness that’s going to get in the way of your best playing.
I begin all setups by first talking to the person about how they play their instrument and any issues they’re having with it, hear any concerns or questions they have, and make notes on their desired “action” (how high the strings sit above the frets), any special tunings, and their string gauge preference – as the pitch and thickness of the strings affects the way the neck bows. Setups are very personal. Not everyone wants shredder-low action and if you always play in drop-D tuning, your tech should know to set it up that way.
After I have the instrument on my bench, I’ll play it and take some measurements of the neck relief and action, noticing where any buzzing may occur. I check out how the strings sit in the nut, and visually inspect the instrument for any cracks, scrapes, or dings. Then I make some neck adjustments using the truss rod. I’ll move the bridge and/or saddles around to where I think they should be and then I test every note. I’ll do this back and forth until I’m happy with the way it’s playing and then make any adjustments needed at the nut.
Next, I remove the strings (although I’m happy to keep them on during the setup for bassists), polish the fret tops, remove any fretboard grime and condition the wood, and run some graphite through the nut and saddle slots to keep the strings from getting caught up in there. I clean the instrument’s body, checking all screws, strap buttons, tuners, jack, etc. for tightness. I’ll then restring the instrument and make sure everything is still good before stretching out the strings and setting the intonation as perfectly as possible.
Finally, I plug it in and adjust the pickup heights (although this is also very personal and I am happy to work with people and make any little adjustments when they come to pick up their guitar or bass), and check that all the controls function smoothly and as they should, using a deoxidizing cleaner when needed.
Getting regular setups can prevent you from needing more serious work down the line, or at least delay it. Longer scale instruments like basses can be especially prone to settling into a bad neck bow and not wanting to let go if they’ve been that way for too long. The frets can also wear out unevenly if the neck has been too bowed or too straight for a long time. I always check for any excessive fret wear or neck twisting during a setup and make any recommendations for further work or things to keep an eye on. In the case of acoustic guitars, the glued-on bridge can start lifting off the body if the guitar has been too dry or left with a badly bowed neck or too much string tension.
AF: How can you take better care of your guitars/basses in general?
JN: Humidify them! October-April, roughly. Keep them stored away from radiators and drafty areas. Electric instruments don’t need that much, but New York apartments are brutal places for acoustic instruments. Sponge humidifiers need to be refilled every couple days and can be DIY’d easily if you’re on a budget. This will save you lots of money and heartache in the long run.
Bring a collapsible stand to your gigs if you’re worried about your guitar taking a fall. I’ve actually got my eye on this little rubberized block thing that you can rest on top of your amp and it secures the neck in place sans stand. I play a Thunderbird bass which is particularly difficult to lean on things.
My strongest advice is to get to know what you like about your instrument and play it often! Treat it with respect and it will give back to you. Even the most unlikely of instruments can bring mountains of inspiration and joy, so I treat them all equally.
AF: Any other tips?
JN: Don’t be afraid to ask questions! There are things you only learn after doing something 50 times, or 500 times, or 5000 times. I learn something new with almost every instrument I touch, and I’m excited to share the knowledge that comes with that experience with anyone who comes into my workshop (AKA my bedroom, lol).
AF: How do you keep your drums in tip-top shape while on the road?
RS: The road is definitely tough on drums, but I’ll take some extra time (if there is any) when I set up to make sure that all of the drums are tuned and warm, and then making sure everything is put away carefully at the end of the night. I also keep everything in either hard shell cases or really padded bags.
AF: What are the most common things to break on drums while touring?
RS: There are so many tiny little tension rods and screws on a kit and the vibration from being in the van for long drives can make them loosen and fall out. I’ve cracked a couple of cymbals, broken sticks, popped snares, popped bottom heads… it seems like there is always something, but I’d have to say that loosing tension rods, felts and wingnuts is probably the most common.
AF: How do you change a drum head and how often should you do this?
RS: I probably don’t change them as regularly as others might? My policy is to change them when they start sounding weird and no amount of tuning and tape can help… I have a couple snares that I should probably change but they still sound great so I’m just hoping they don’t break! Changing heads is not too bad. First, you loosen all of the tension rods (I loosen them but don’t pull them out of the rims because there are tiny separators between the tension rod and rim that can get lost really easily). Next, you take the old head off and put the new one on. Once you get it situated with the rim and tension rods lined up with the lugs, I like to tighten each rod by hand until there is a little bit of tension on each. Then you tighten each rod with a key until the tension is slightly tighter, but even (the drum head will make some cracking sounds as it gets tighter). When the tension is pretty even, I like to just make slight (quarter-ish) turns, moving across the head instead of clockwise, until the head is tight. Keeping the tension on each rod even is really important. You can check by tapping the head in front of each rod and if it sounds the same, you’re good to go. Then it’s really just about getting the drum to sound the way you want it to. It takes a lot of trial and error until you get more comfortable matching the sound you want with the feel of the head and tension rods. To be fair though, I read an interview with Taylor Hawkins and it said something to the effect that he puts a head on a snare, makes it super tight, says a little prayer, and hopes for the best… I’ve tried that too and it works, haha.
AF: Any other tips for keeping your gear safe and sound?
RS: Cover all your gear up in the van and keep an eye on it in clubs.
More tips on how to take care of your gear on the road:
- Invest in good cases. Gatorcases have great padding, but hard cases are your safest bet.
- Pack extra quarter inch, patch and XLR cables (usually the first things to go).
- Watch this over/under technique demo and wrap your cords properly.
- Pack extra sets of guitar and bass strings.
- Pack extra tubes.
- Pack as many guitar picks as you can and keep them in your wallet or small container, like an old Altoid tin.
- Learn how to fix your gear and troubleshoot before you leave for tour.
- Label everything with your name and contact info. Be fancy and get a stencil with your band name!
- Keep an Emergency Repair Kit with the following supplies:
- Duct Tape – Can fix anything!
- Soldering Kit
- Cable tester
- Screwdriver / Allen wrench
Van Pack Tetris 101
- Heavy Stuff goes on bottom
- Soft cases go on top or next to amps
- Make guitars and other breakables easy to access so you can take them inside when you’re staying at motels, with friends, or any kind randos.
Even if you’ve taken every precaution sometimes things will still break! When this happens we like to blame it on Mercury Retrograde. Check Ismercuryinretrograde.com to cover all your bases.